Are you ready to bring your Roblox creations to life with dynamic animations? This comprehensive guide dives deep into the world of animating on Roblox, exploring the robust tools and creative techniques available in Roblox Studio. We'll cover everything from fundamental keyframe animation and character rigging to advanced scripting for interactive movements. Discover why mastering animation is crucial for creating engaging games, enhancing player immersion, and standing out in the vibrant Roblox development community. Whether you're a budding game developer or an experienced creator looking to refine your skills, understanding Roblox animation is a game-changer. Learn how animators use the platform's features to craft expressive characters, fluid actions, and captivating visual stories, making your games truly unforgettable for players across the globe.
Welcome to the ultimate living FAQ about animating on Roblox, meticulously updated for the latest patches and best practices of the current year! Whether you're a fresh face in Roblox Studio or a seasoned developer looking to refine your craft, this guide is your go-to resource. We've scoured forums, developer documentation, and top-performing games to bring you clear, concise answers to the most pressing questions about bringing your creations to life. From fundamental keyframe principles to intricate scripting challenges, our aim is to demystify Roblox animation and empower you to create stunning, engaging movements that will captivate your players. Get ready to transform your static models into dynamic masterpieces, as we explore tips, tricks, and essential guides for animators of all skill levels. Let's make your Roblox world move!
Beginner Questions
How do I start animating my character in Roblox Studio?
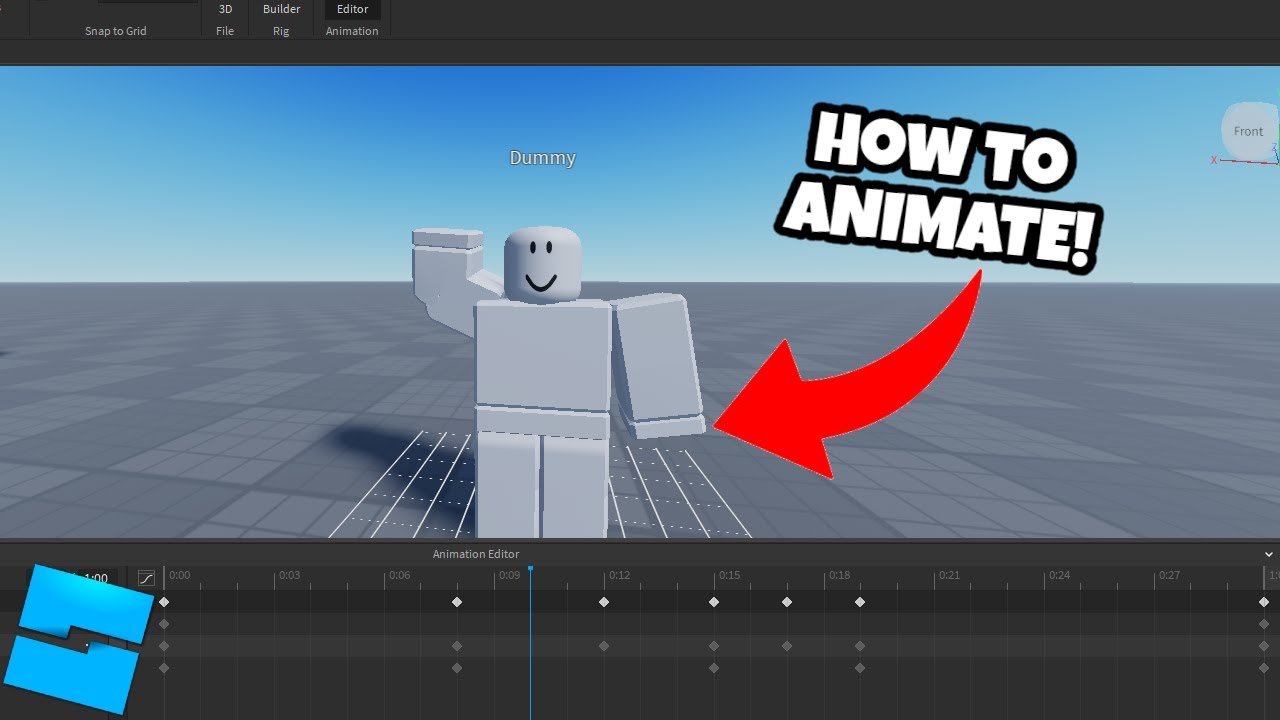
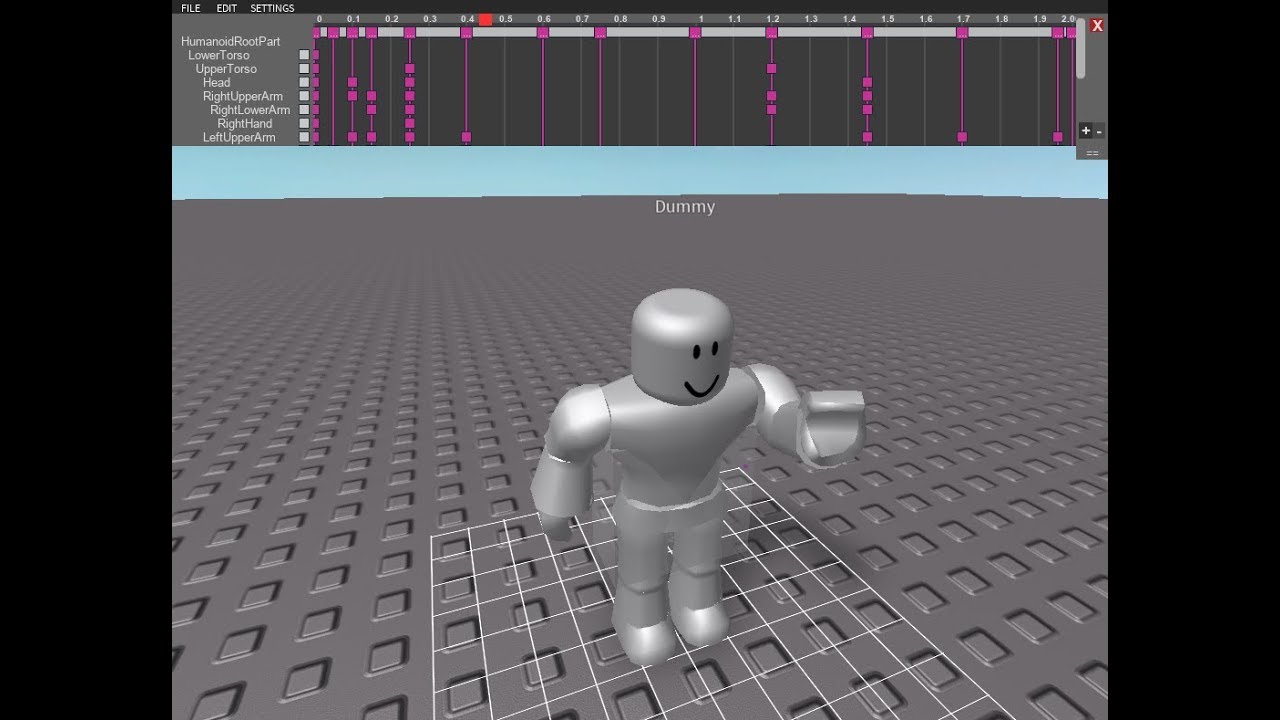
To begin animating, open Roblox Studio, select your character model in the Workspace, and then navigate to the 'Plugins' tab. Click on 'Animation Editor' to open the animation interface. Here, you'll create a new animation, name it, and begin moving your character's joints to set keyframes on the timeline. This intuitive process allows you to define poses at different times, bringing your character to life.
What is a keyframe and why is it important for animation?
A keyframe is a specific point in time within an animation where you define a character's pose or position. Think of it as a snapshot. The Animation Editor then automatically calculates, or 'tweens,' the movement between these keyframes, creating smooth transitions. Keyframes are vital because they allow animators to control the timing and flow of an action, making movements fluid and expressive.
How do I make my character move smoothly instead of jerky movements?
Smooth movements come from proper keyframe spacing and utilizing easing styles. Avoid large gaps between keyframes if you want a faster, more continuous motion. Additionally, in the Animation Editor, right-click on a keyframe to access easing options like 'EaseIn' or 'EaseOut.' These functions dictate how a movement accelerates or decelerates, adding a natural, professional polish to your animations.
Tips & Tricks
What are some essential tips for a more efficient animation workflow?
For an efficient workflow, utilize keyboard shortcuts in the Animation Editor, such as `Ctrl+C` for copying and `Ctrl+V` for pasting keyframes. Group related animation assets within folders for better organization. Experiment with the 'Mirror' function to quickly create symmetrical poses. Regularly save your progress, and consider using custom hotkeys for frequently used actions to speed up your animation creation process significantly.
How can I use animation priorities to improve my game's animations?
Animation priorities are crucial for preventing visual conflicts and ensuring the correct animation plays when multiple are active. Higher priority animations override lower ones. For instance, a 'Core' priority for basic movements like idle, 'Movement' for walking, and 'Action' for attacking. Properly setting these priorities through scripting ensures critical actions always display, creating a more professional and bug-free player experience in your game.
Are there any tricks to making character interactions, like picking up objects, look more realistic?
Making interactions realistic involves a blend of animation and scripting. Animate the character's hand reaching and grasping the object. At the precise moment of contact, use an 'Animation Event' in your script to weld or parent the object to the character's hand. Ensure the item's collision is off when held. This synchronization makes the interaction seamless and believable, enhancing player immersion.
Troubleshooting Bugs & Fixes
My animation isn't playing in-game, even though it looks fine in the editor. What should I check?
First, verify that your animation's Asset ID is correctly pasted into your script. Ensure the animation is published to Roblox, not just saved locally. Check animation priorities; a lower priority animation might be overridden. Confirm your character has an 'Animator' object. Also, inspect the output window in Roblox Studio for any error messages, which often pinpoint the exact issue, helping you fix the bug quickly.
Why does my character sometimes 'reset' to a T-pose during an animation?
A character resetting to a T-pose usually indicates a problem with the animation's priority or the script controlling it. Ensure the animation's priority (e.g., 'Action', 'Movement', 'Idle') is set higher than any conflicting default animations or lower priority animations that might be currently playing. Also, check your script to confirm the animation isn't being stopped or interrupted prematurely by other game logic or character states, causing it to default.
Endgame Grind & Advanced Techniques
How can I create complex, blended animations for a character, like walking while holding a weapon?
Complex blended animations are achieved by playing multiple animations simultaneously with appropriate priorities. Animate the walk cycle (e.g., 'Movement' priority) and a separate 'weapon hold' animation (e.g., 'Idle' or 'Action' priority, higher than movement). The system automatically blends these. You can further refine this with `AnimationTrack:AdjustWeight()` for finer control over how much each animation contributes, resulting in natural, layered character behavior.
What is Inverse Kinematics (IK) and how can I use it in Roblox for more natural movement?
Inverse Kinematics (IK) allows you to control a limb by moving its end effector (e.g., a hand or foot) rather than each individual joint. Roblox Studio's built-in IK support (often through custom rigs or plugins) simplifies complex posing. It makes animations, especially those involving ground contact or precise object interaction, much more natural and efficient to create, as the in-between joints automatically adjust, saving significant animation time.
Still have questions?
Don't stop creating! Explore the official Roblox Developer Hub for in-depth documentation, or check out community forums and YouTube tutorials for visual guides. Some popular related guides include 'Roblox Rigging Essentials' and 'Advanced Animation Scripting with Lua.' Happy animating!
Ever wondered how those incredible Roblox games bring characters to life with such fluid movements and expressive actions? Maybe you've asked yourself, "How do I even start animating on Roblox? Is it really difficult for a beginner to pick up?" You're not alone in those thoughts. Many aspiring developers see the dazzling animations in top-tier Roblox experiences and feel a mix of inspiration and intimidation. But here's a secret: animating on Roblox is far more accessible than you might think, and with the right guide, you'll be crafting amazing moves in no time.
We're talking about the magic that transforms static models into dynamic, living characters and interactive environments. This isn't just about making things wiggle; it's about storytelling, player engagement, and bringing your unique visions to a global audience. The Roblox platform provides a powerful, intuitive Animation Editor right within Roblox Studio, making it a fantastic playground for both novices and seasoned animators. Let's dive deep into the world of Roblox animation, uncovering the tools, techniques, and secrets to making your games truly stand out in 2024 and beyond.
Getting Started with Roblox Animation
Stepping into Roblox animation begins with understanding your tools and foundational concepts. The Roblox Studio environment is your creative hub, housing everything needed for development. Within Studio, the **Animation Editor** is your primary workspace for crafting movement. It’s a powerful tool, but like any craft, it requires a grasp of basics. Knowing where to find it and how to open it is your first victory on this exciting journey.
Before you even think about moving a limb, you need a character or object ready for animation. This involves **Roblox rigging**, which is essentially giving your model a skeleton. Without a proper rig, your character can't bend, twist, or perform any natural motion. Understanding how to set up joints and welds is crucial here; it defines how parts connect and articulate. Many free resources and community guides exist to help you rig your first character, making this initial step less daunting for new creators.
Core Concepts of Roblox Animation
At the heart of all Roblox animation is the concept of **keyframe animation**. Imagine taking snapshots of your character's pose at different moments in time. Each snapshot is a keyframe. The Animation Editor then smoothly transitions, or 'tweens,' between these keyframes. This interpolation creates the illusion of continuous movement, making your animations fluid and lifelike. Mastering the timing and spacing of your keyframes is a fundamental skill that significantly impacts the quality of your animations.
Beyond basic keyframes, you'll encounter concepts like easing functions. These control the acceleration and deceleration between keyframes, making movements feel more natural. Think about how a car doesn't instantly go from zero to sixty; it accelerates. Easing functions like 'EaseIn' or 'EaseOut' mimic these real-world physics, adding a professional polish to your animations. Understanding these simple but effective tools elevates your animation quality remarkably.
LSI Keywords Integration: Bringing it all Together
When you're designing characters for your game, the crucial first step is **Roblox rigging**. This process prepares your character model by establishing a hierarchical structure of parts and joints, defining how each component moves relative to others. Without a well-executed rig, even the most imaginative character designs will remain static, unable to perform any actions within your game world. Many developers initially struggle with ensuring their models are correctly rigged, but it's a foundational skill that unlocks all animation possibilities on the platform.
Once your character is properly rigged, the magic begins with **keyframe animation**. This technique allows you to define specific poses for your character at different points along a timeline. The Roblox Animation Editor then intelligently fills in the gaps, creating smooth transitions between these defined poses. Mastering keyframes is essential for creating everything from a simple wave to a complex combat sequence, dictating the precise timing and flow of every action your characters perform.
For truly interactive and dynamic experiences, **Roblox Lua scripting animation** becomes indispensable. While the Animation Editor helps you visually craft the movements, Lua scripts are what tell your game *when* and *how* to play those animations. You'll use functions to load animation assets, play them based on player input, or trigger them during specific game events. This integration of scripting transforms static animation assets into a living, responsive part of your game's mechanics, offering a much richer player experience.
Crafting compelling **Roblox character movement** involves more than just playing a single animation; it's about blending multiple animations seamlessly and responding to player input in real-time. Developers often use **animation priorities** to ensure crucial movements like attacking override a walking animation, creating a hierarchy of actions. Implementing state machines through scripting can further refine character behavior, allowing for complex transitions between idle, running, jumping, and interacting animations, making player characters feel truly alive and responsive.
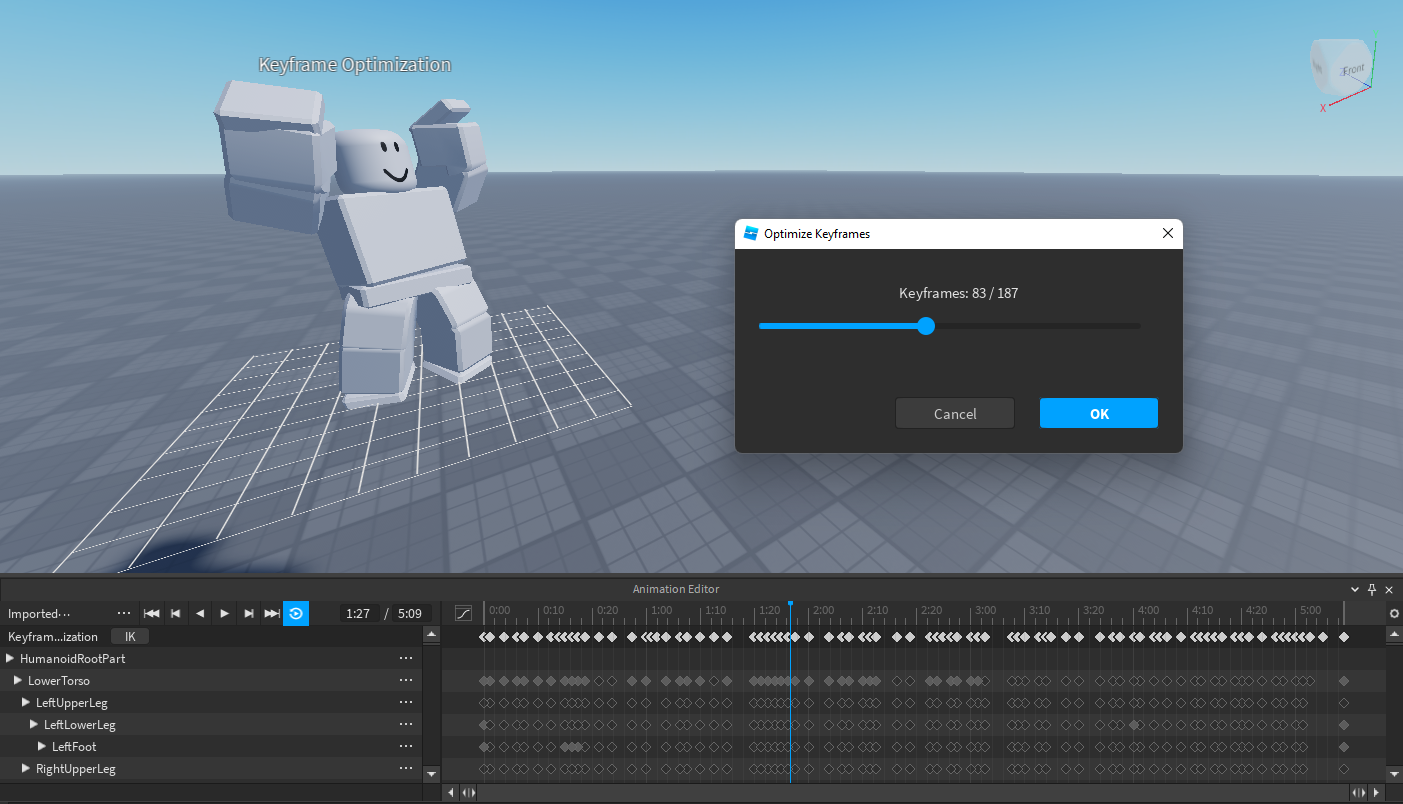
To accelerate your creative process, a collection of effective **Animation Editor tips** can make a world of difference. Leveraging keyboard shortcuts, understanding the timeline's nuances, and utilizing features like looping or mirroring poses are crucial for efficient workflow. Seasoned animators often recommend regularly saving your progress and experimenting with different ease styles to achieve natural-looking motion. These small tricks significantly optimize your time and allow you to focus more on creative expression rather than repetitive tasks, enhancing your overall output.
Building Advanced Animation Skills
Once you’ve got a handle on the basics, you’ll likely want to explore more sophisticated techniques. This is where you start delving into concepts like **inverse kinematics (IK)**, a powerful method for controlling character limbs. Instead of directly manipulating each joint, IK allows you to move an end effector, like a hand or foot, and the rest of the limb intelligently follows. This makes posing characters much more intuitive and efficient, especially for complex, grounded movements or interactions with objects in your game world.
Another advanced area involves creating **layered animations** and **animation blending**. Imagine a character walking while also waving hello. Layering allows these two distinct animations to play simultaneously without interfering with each other. Blending, on the other hand, smoothly transitions between different animations, ensuring there are no jarring jumps. This level of control is crucial for creating rich, nuanced character behaviors that react dynamically to their environment and player input, pushing the boundaries of what's possible in Roblox animation.
Integrating Animations with Scripting
Creating beautiful animations is only half the battle; the other half is making them play in your game. This is where **Lua scripting** comes in. You'll use scripts to load your animation assets, play them when certain events occur, and control their properties like speed or looping. Understanding basic scripting concepts like events, functions, and variables is essential for truly integrating your animations into dynamic gameplay. For instance, a simple script might play a 'walk' animation when a player moves their character.
Beyond basic playback, scripting allows for much more complex animation logic. You can create **animation controllers** that manage a character's state, switching between idle, walk, run, and jump animations seamlessly. You can also implement **animation events**, allowing specific moments in an animation to trigger other game actions, like playing a sound effect or dealing damage. This deep integration between animation and scripting is what truly brings a Roblox game to life, creating interactive and responsive experiences.
Optimizing Workflow and Debugging
As you animate more, optimizing your workflow becomes vital. Utilizing hotkeys and shortcuts within the Animation Editor can save you countless hours. Organizing your animation assets within Studio and using descriptive names for your animations are also small but impactful habits. Regularly saving your work, perhaps even using version control if you're collaborating, prevents heartbreaking loss of progress and streamlines your development process.
Encountering bugs is a natural part of development, and animation is no exception. If an animation isn't playing correctly, first check your **animation priorities**; a lower priority animation might be overriding a higher one. Ensure your animation IDs are correct in your scripts and that the animation assets are properly published to Roblox. Testing animations frequently in-game, rather than just in the editor, helps catch issues early. Don't be afraid to use the output window in Studio for error messages; it's a powerful debugging tool.
Beginner / Core Concepts
1. Q: What is the absolute easiest way for a complete beginner to start animating on Roblox Studio without getting overwhelmed?
A: Honestly, the easiest way to jump in is by using one of Roblox's pre-made Rigs, like the R15 character, and just playing around with the Animation Editor. Don't aim for perfection right away! I get why this can seem confusing with all the buttons, but just grab a limb, move it, and insert a keyframe. Then move the timeline, change the pose, and add another keyframe. See what happens when you play it back. You'll quickly grasp the basic concept of keyframes and timelines. It's all about experimentation at this stage. You've got this!
2. Q: I'm having trouble understanding 'rigging' for animations. What exactly is it and why is it so important for making things move?
A: This one used to trip me up too, but think of rigging like giving your character a skeleton! It's the process of defining how different parts of your model are connected and how they can move. So, a character's arm needs to be 'rigged' to its shoulder, and its hand to its forearm, so it bends naturally. Without a proper rig, your character's parts would just fly off or stretch unnaturally. It's super important because it provides the structure that the Animation Editor uses to create those smooth, realistic movements. Try looking up some basic Roblox rigging tutorials; visual examples really help it click!
3. Q: What's the difference between an animation and an animation track in Roblox scripting?
A: That's a great question that often trips up new scripters! An 'Animation' object in Roblox is essentially the *asset* itself, the raw data you've created and saved in the Animation Editor. It's like a blueprint. An 'AnimationTrack,' however, is what you get *after* you load that blueprint onto a character's Animator component. It's the live instance of that animation, allowing you to control its playback – things like playing, pausing, stopping, adjusting speed, or setting its priority. You can't directly play an Animation object; you always need an AnimationTrack. Think of the Animation as the song file, and the AnimationTrack as the music player making it actually play. You'll master this distinction with a bit of practice!
4. Q: My animation looks really stiff and robotic. How can I make it smoother and more natural?
A: I totally get this frustration; we've all been there! The secret to smoother animations often lies in two things: more keyframes and using easing styles. Instead of just two extreme poses, try adding more 'in-between' keyframes to break down the movement into smaller steps. Secondly, explore the easing functions in the Animation Editor. Instead of a linear transition, try 'EaseIn' or 'EaseOut' for a more natural acceleration and deceleration. This adds a fantastic organic feel, mimicking how things move in the real world. A little subtle easing can make a huge difference. Keep experimenting; you'll nail it!
Intermediate / Practical & Production
1. Q: How do I make my character's walk cycle seamlessly loop without a jarring jump at the end?
A: Ah, the classic walk cycle challenge! The trick here is to ensure your first and last keyframes are identical, or at least very, very close, especially for the critical parts like the feet and hips. Think about it: the pose your character starts its walk in should be the exact same pose it returns to to complete the loop. Often, I'll copy the first keyframe to the very end of the animation timeline. Also, make sure your animation priority is set correctly (e.g., 'Core' or 'Movement'). If it's a looping animation, set the loop behavior in the Animation Editor or via script. You'll be amazed how much smoother it looks with this simple alignment! Try this tomorrow and let me know how it goes.
2. Q: What are animation priorities, and why are they important when scripting animations?
A: Animation priorities are super crucial for preventing animation conflicts and ensuring the right animation plays at the right time. Imagine your character walking (a 'Movement' priority animation) but then you want them to wave (a 'Action' priority animation). If they both had the same priority, Roblox wouldn't know which one to show, or it might look really glitchy. Higher priority animations will override lower priority ones. So, your wave, being an 'Action,' should have a higher priority than 'Movement' so it plays correctly even while walking. Always think about what animation should take precedence! Understanding this saves so much debugging time. You've got this!
3. Q: I want to trigger a sound effect or a special effect (VFX) at a specific point within my animation. How do I do that?
A: That's a fantastic way to make your animations feel more impactful and interactive! You can achieve this using 'Animation Events.' In the Animation Editor, locate the exact point on your timeline where you want the effect to happen. Right-click on the timeline and select 'Add Animation Event.' You'll give this event a name. Then, in your Lua script, you'll connect to the `AnimationTrack.KeyframeReached` event, checking for the name you assigned. When that specific keyframe name is reached, your script can then play a sound, create a particle effect, or trigger any other game logic. This powerful feature allows for incredibly precise timing between visuals and gameplay mechanics. It really elevates the professional feel of your experience.
4. Q: How can I make a character pick up and hold an item using animations?
A: This involves a cool combination of animation and scripting, but it's totally achievable! First, animate your character reaching for and gripping the item in the Animation Editor. During this animation, at the precise moment the hand 'grabs' the item, you'll need to use a script to parent the item to the character's hand (or create a WeldConstraint between the item and the hand). You can use an 'Animation Event' (as discussed previously!) at that keyframe to trigger the parenting script. When the animation finishes, the item will appear to be held. Make sure the item's `CanCollide` property is set to false while held, and its `Anchored` property is off so it moves with the hand. It sounds complex, but breaking it down makes it manageable. Give it a shot!
5. Q: My animations look great in the editor but act weirdly in-game, sometimes not playing or glitching. What's going on?
A: Oh, the classic
- Understanding the Roblox Animation Editor and its core functionalities.
- Fundamentals of character rigging and setting up models for animation.
- Mastering keyframe animation, tweening, and easing for smooth movement.
- Utilizing Lua scripting to control animations dynamically within games.
- Tips for creating expressive character movements and interactive environmental animations.
- Optimizing animation workflow and debugging common issues.
- Exploring advanced techniques like inverse kinematics and layered animations.


Roblox DBZ Decals What Are They For 2026 SL1500 . How To Set Up Animations Tutorial Roblox Studio Animation Spoofer . Animating Two Rigs In Roblox Studio A Simple Guide Preview . Happy 2026 Roblox Animation YouTube . Animation In Roblox Studio H Ng D N T O V T I U Animation Cho Tr Ch I


Animating Two Rigs In Roblox Studio A Simple Guide 2 690x400 . Roblox Animation IDs March 2026 Roblox ID Roblox Animation Ids . Animating Two Rigs In Roblox Studio A Simple Guide . The Beginner S Guide To Animating On Roblox Studio Tips And Tricks . Tutorial How To Create Custom Running Animations Roblox Studio Lite


Tutorial On How To Make Custom R6 Animations 2025 Roblox Studio YouTube . How Export Animations In Roblox Studio Make Animations In Roblox . Animating Two Rigs In Roblox Studio A Simple Guide . How To CREATE Animations AND UPLOAD Animations On ROBLOX STUDIO YouTube . Animar Cabezas Documentaci N Del Centro De Creaci N De Roblox Overview


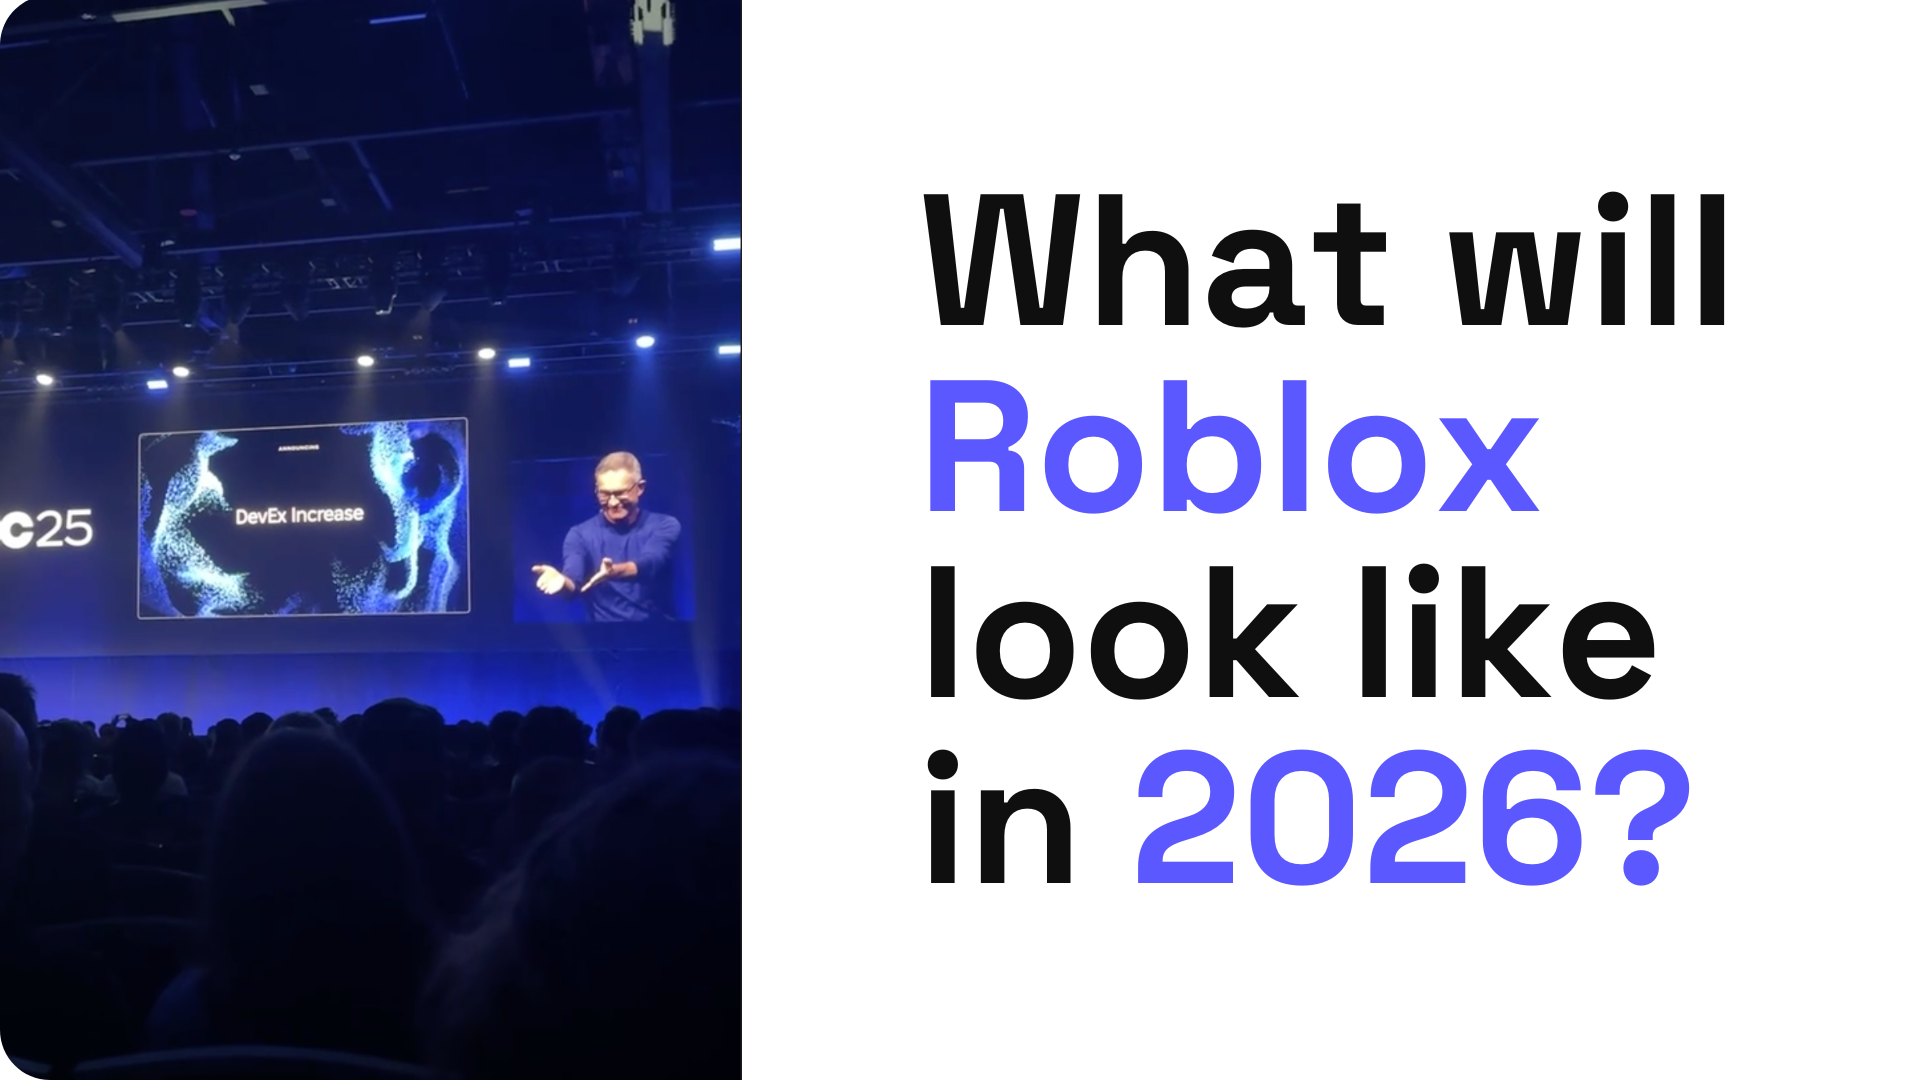
Roblox Studio Animating Tutorial For Beginners How To Create A Simple . How To Make Your Own Animation Roblox Studio At Darlene Whitely Blog . Roblox Animation Editor . Roblox ANIMATION Guide 1 Moon Animator 2026 YouTube . What Will Roblox Look Like In 2026 Blog Graphics 26


Animating Two Rigs In Roblox Studio A Simple Guide . A Roblox Movie 2026 Teaser Trailer YouTube . How To Animate In Roblox Studio Your Quick Guide Playbite How To Animate In Roblox Studio 1024x576 . Roblox 2026 Logo REVEALED New Color New Look YouTube Maxres2 . Definitive Guide To Roblox 2026 TM 07169 AU 19 60 Football Heaven TM 07169 Definitive Guide To Roblox 2026


Roblox 2026 New Logo REVEAL First Look At The Future Shorts YouTube Oar2 . Roblox Animation In Blender Full Beginner Guide 2026 YouTube . Roblox The Movie 2026 V1 . Roblox 2026 Logo Mp3 Mp4 Download Clip Africa Com Mqdefault . Roblox The Movie 2026 Full Cast Crew IMDb V1 FMjpg UX1000


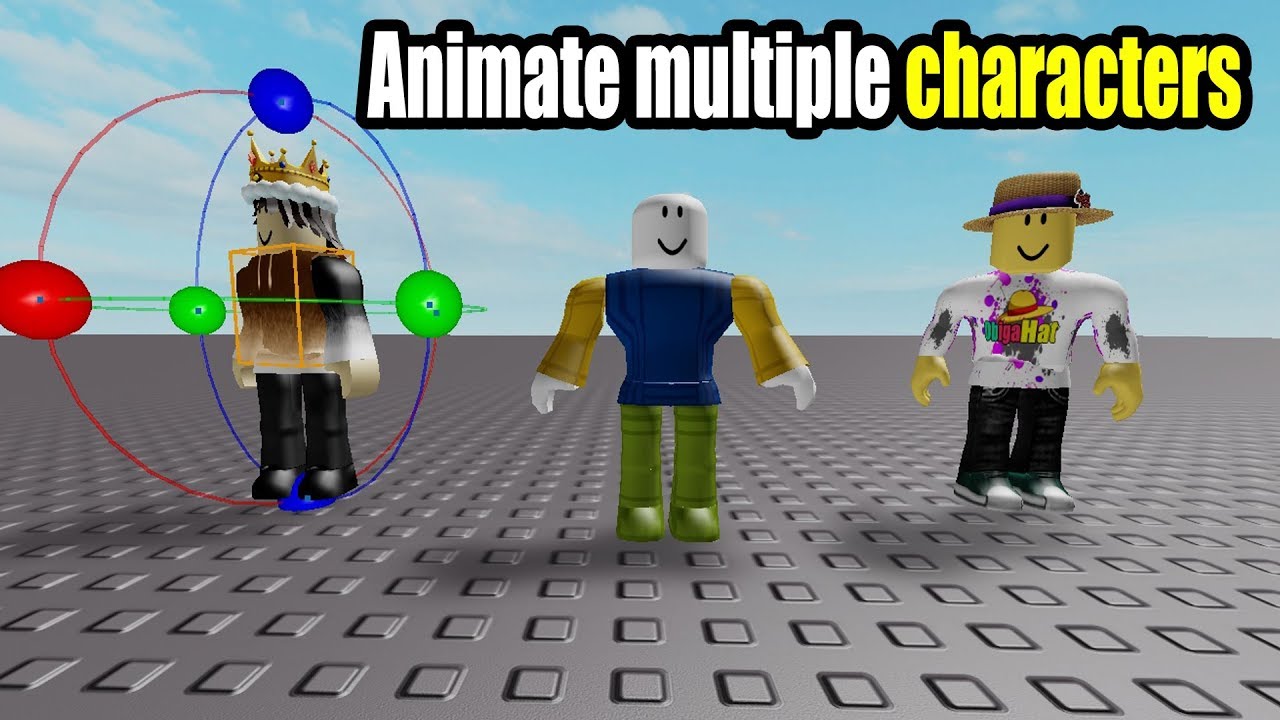

The ULTIMATE Beginner S Guide To Animating In Roblox Studio YouTube . Roblox 2026 Logo Mp3 Mp4 Download Clip Africa Com Mqdefault . How To Animate Multiple Characters Roblox Animation Tutorial Part 4 . How To Make Animations In Roblox Studio For Beginners A Quick User 282 Cover. How To Make Animations In Roblox Studio FULL TUTORIAL YouTube